One Mint NFT Launchpad - How to Create an NFT Collection

Our new dashboard for NFT creation has undergone significant improvements in speed, flow, and user experience. Gone are the days of slow load times and clunky navigation. Our team has worked tirelessly to streamline the process, making it faster and easier for users to create, deploy, and manage their NFT collection.
From the redesigned interface to the improved functionality, our new dashboard is a game-changer for anyone looking to enter the world of NFTs. Whether you're a seasoned pro or new to the scene, you'll find everything you need to get started right at your fingertips.
In this walkthrough you will learn all the functionalities One Mint offers to creators and artists.
Step 1: One Mint Launchpad
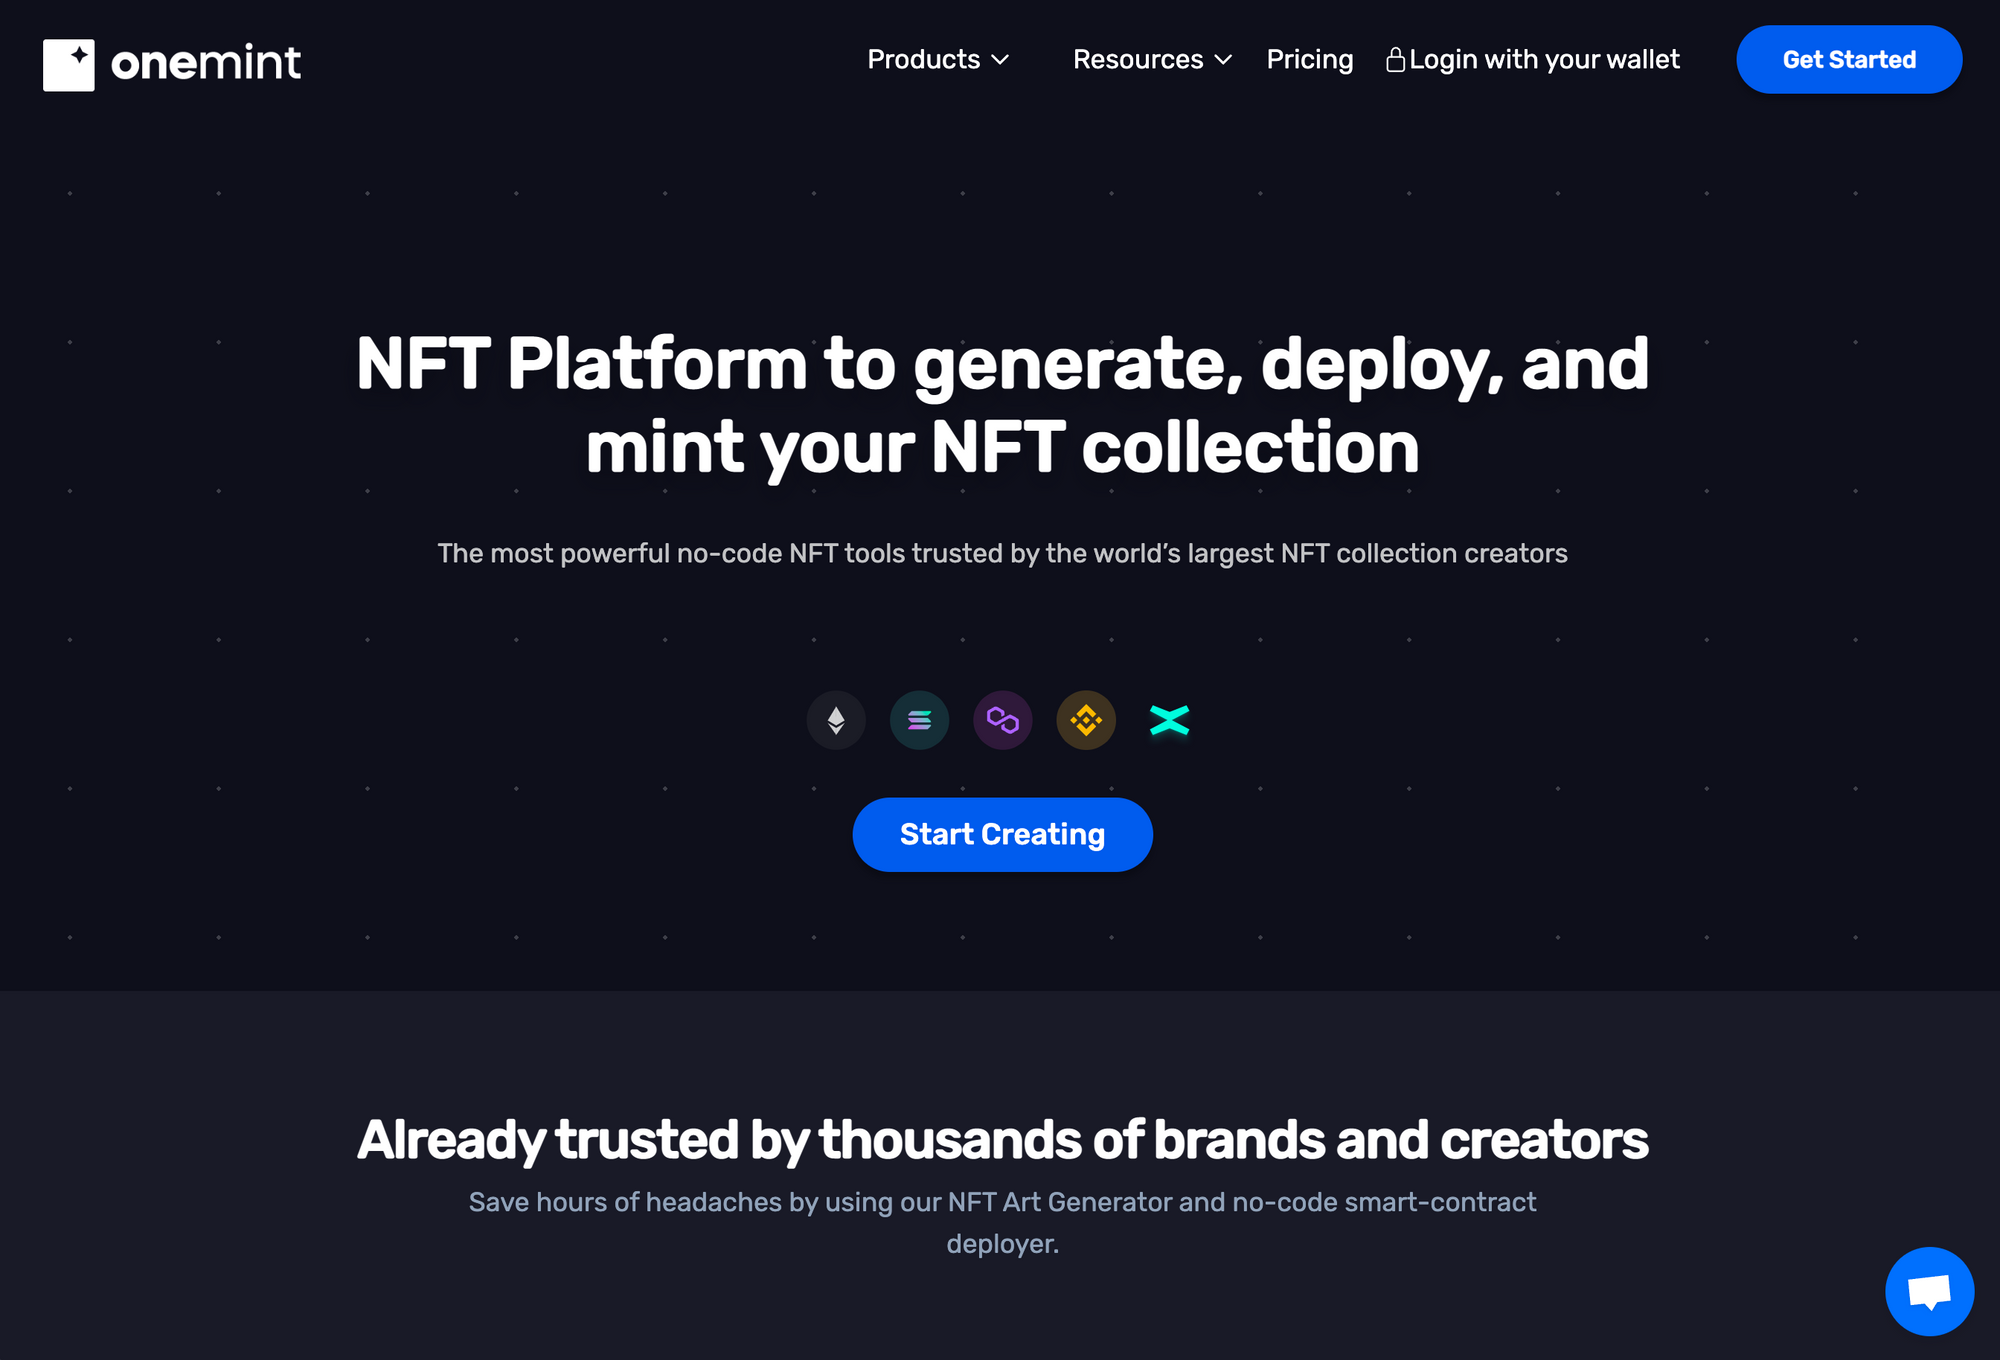
Go to One Mint Launchpad and click on the top right button "Get Started" to start your NFT project. This will take you to the in-house tool NFT Art Generator, the first and most used NFT Generation tool in the blockchain space.
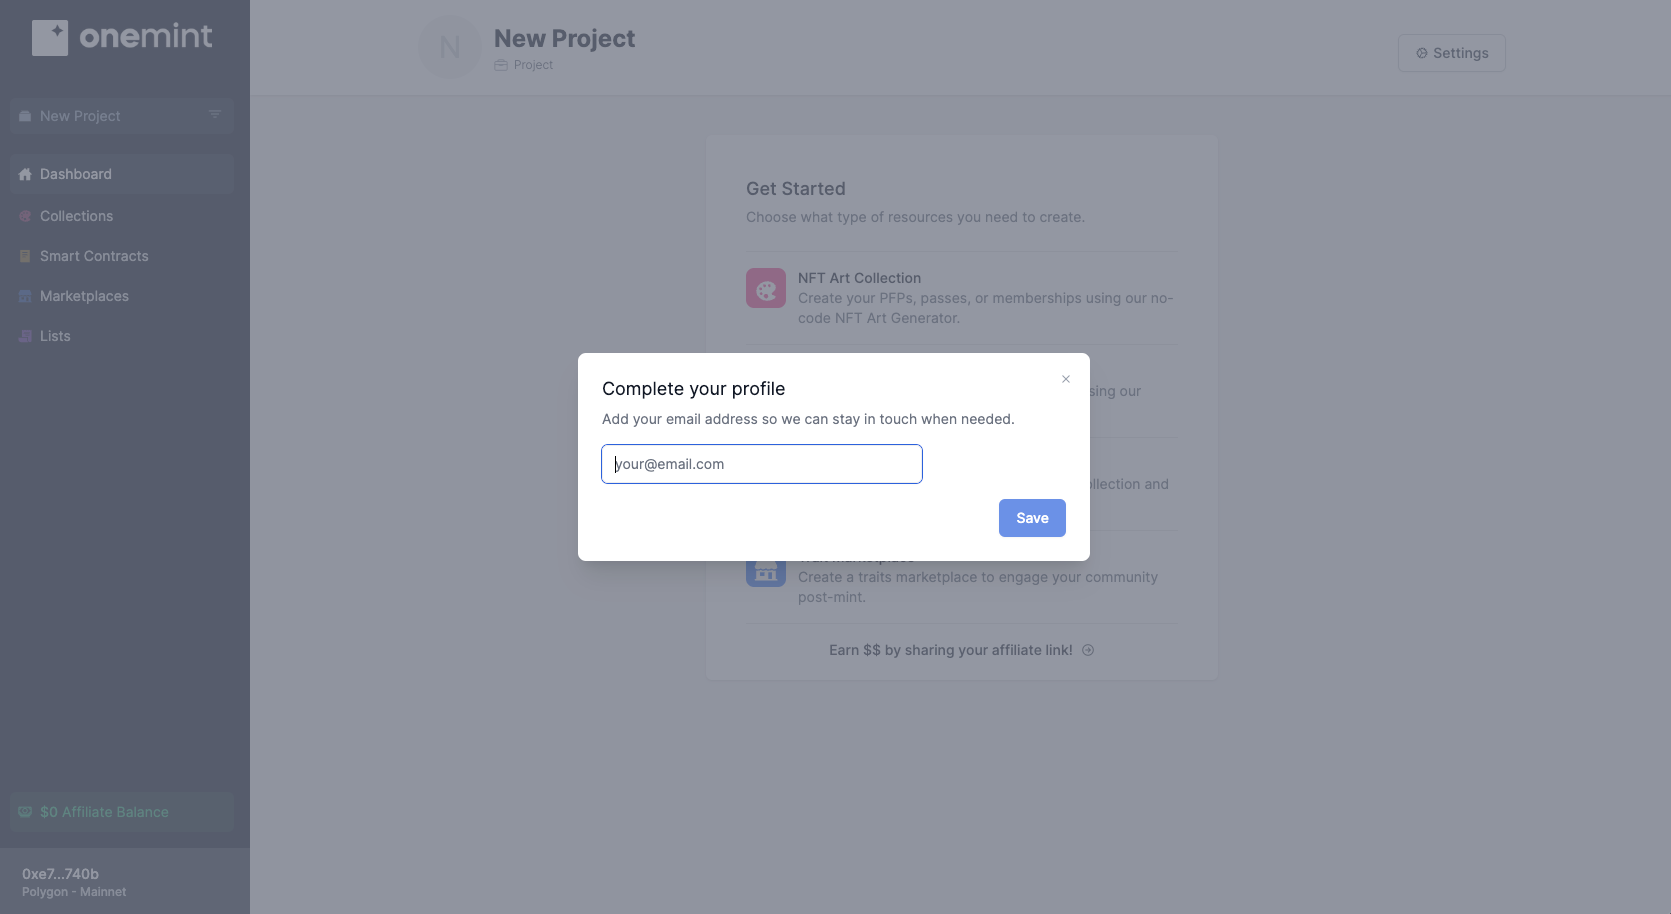
If this is your first time using the app, you will be prompted to finish the sign-up with your email address and your account will be ready and set to start building!
Step 2: NFT Art Generator
The NFT Art Generator is the first NFT launchpad in the blockchain industry and is the generator with the most collections deployed across the top-tier blockchains. You will find the app easy to be used on both the standard and advanced modes.
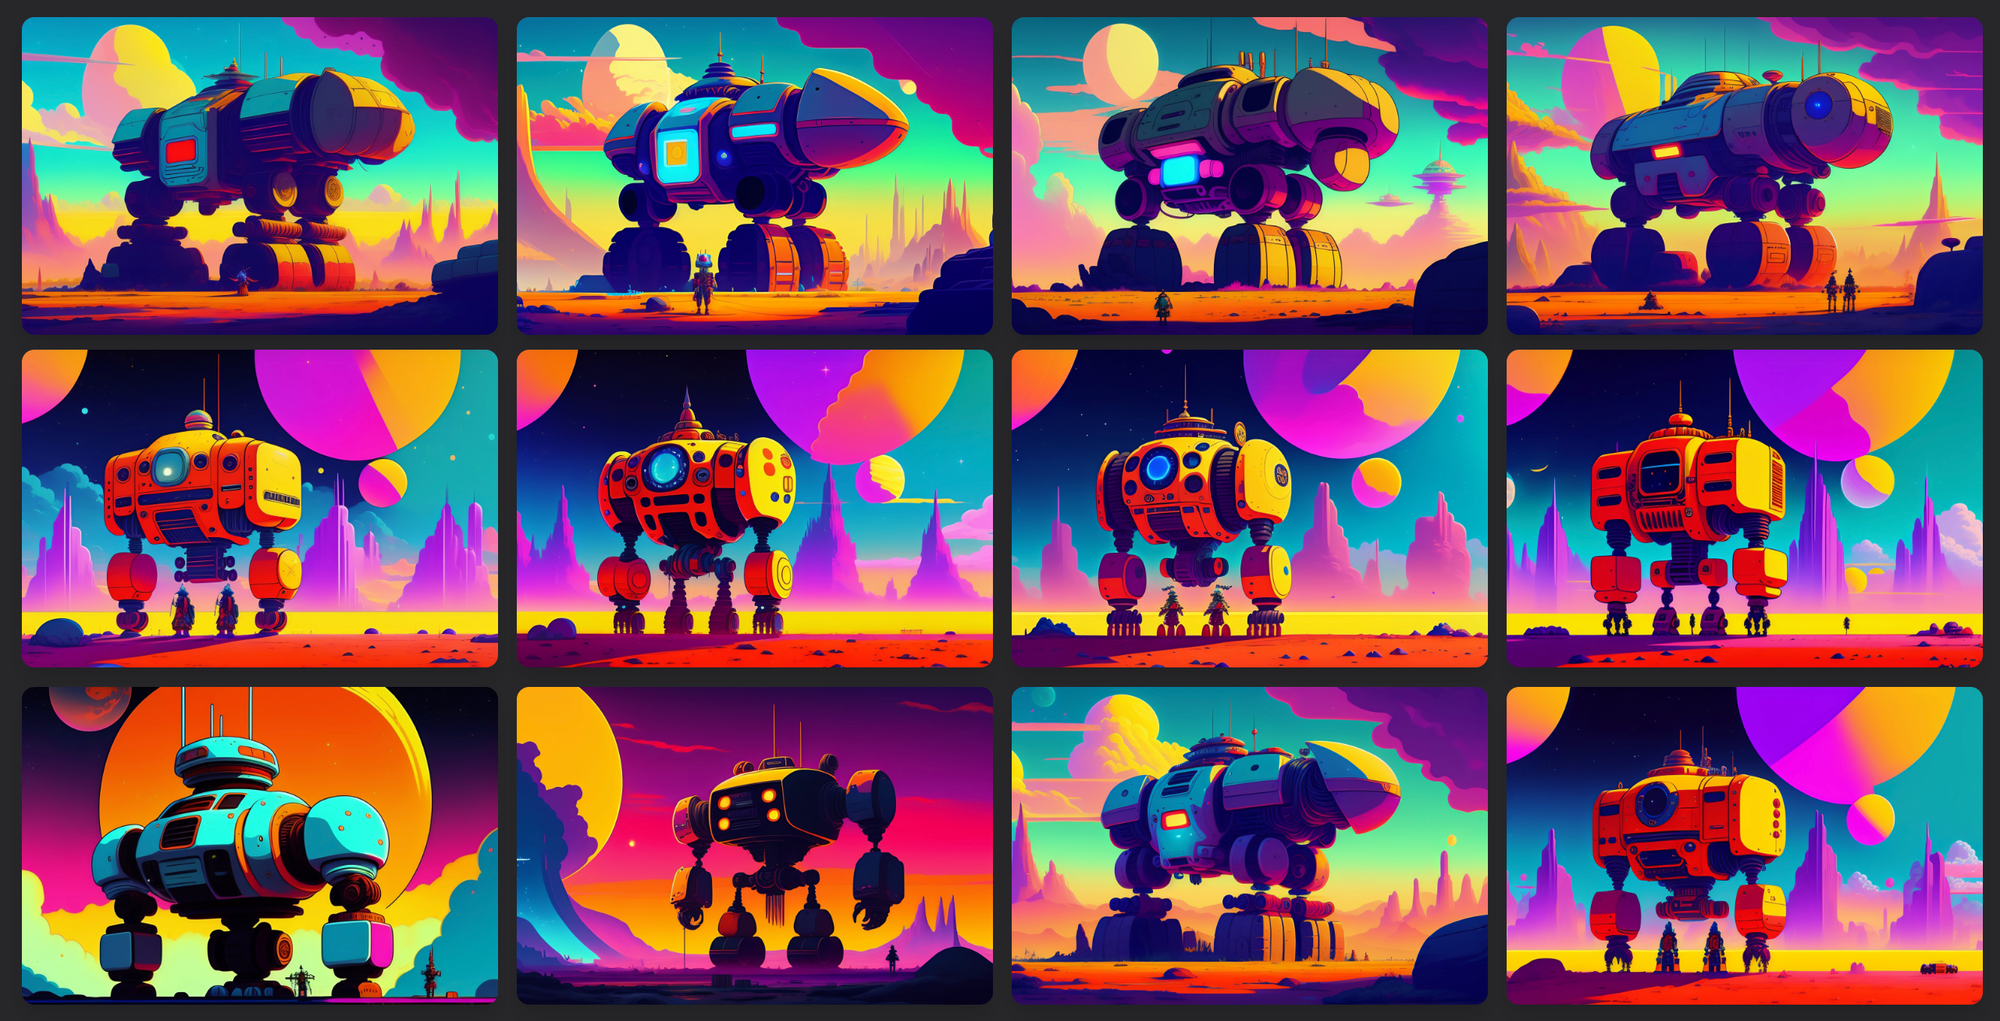
To create a successful generative art project, it's essential to follow best practices and build your artwork in layers. One Mint's NFT Generation tool allows you to assign specific rarities to each layer, making it easy to customize the value and uniqueness of your NFTs. For example, you could create a PFP (profile picture NFT) or character with layers that represent different traits or metadata, such as a background layer, face features, and body parts. By dividing your artwork into distinct layers, you can achieve more control or randomization in the generative process.
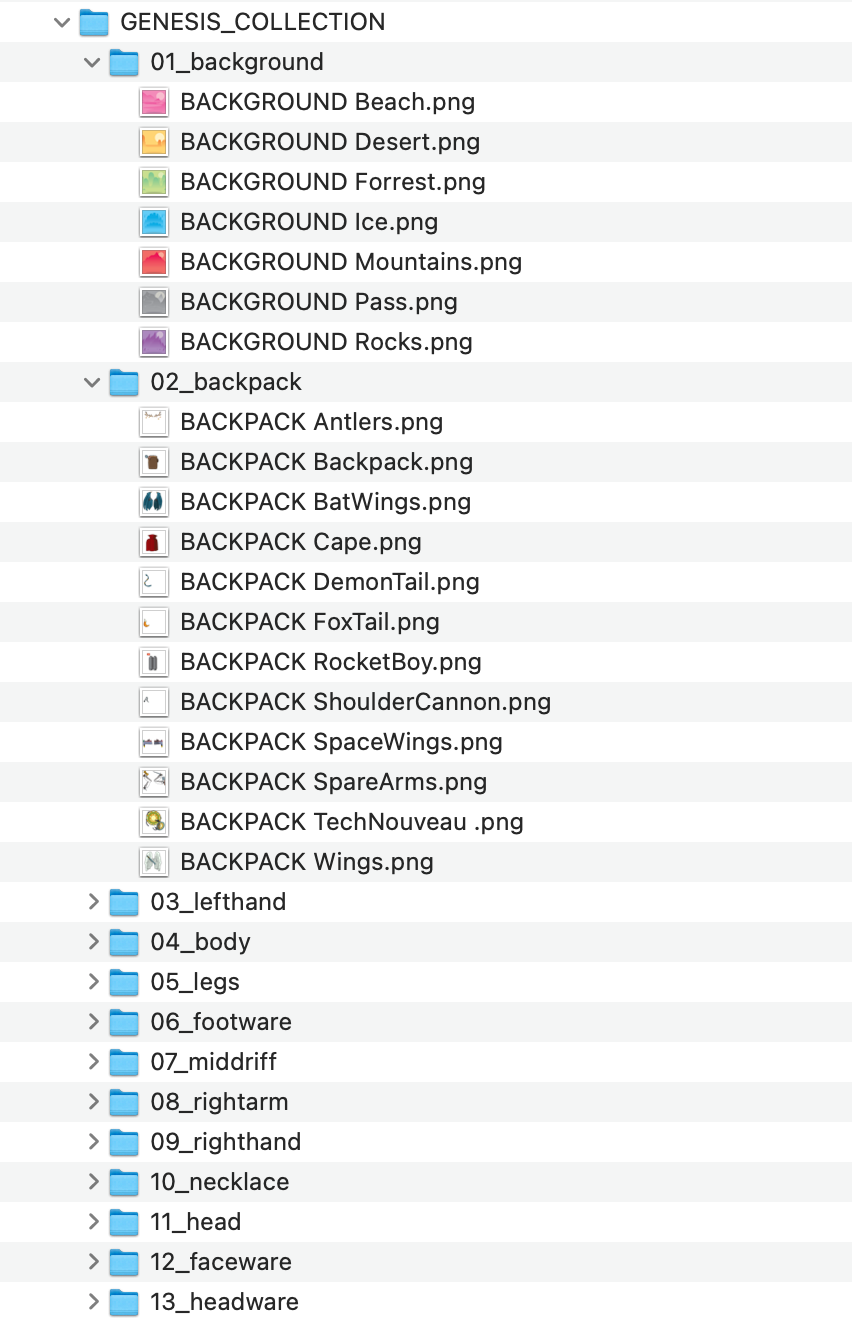
As an artist, it's important to keep proper proportions and alignments in mind as you work on each layer. When you're finished uploading your layers, you should have a folder tree with a specific layer and all of its variants.
Once your artwork is set and organized you may now start building! Go to your account page, where you will create a new collection by clicking on the NFT Art Collection option in order to create a New Collection.
Before you begin creating your NFT collection, it's important to carefully review and set up your initial settings. These settings will be reflected in your metadata once your collection is generated, so it's crucial to take the time to ensure that all of the information you input is accurate and complete.
Remember how your artwork should have been nicely organized in folders? Here is where our NFT Generation tool does its magic. Just drag and drop your parent folders and the app will automatically sort the layer for you.
Step 3: Layer Setup and Rarity Modals
Our rarity setup widget is a useful tool for creating and organizing your rarity rules. With it, you can set up rarity per layer and per trait, including the ability to force or block certain traits. You can also use our drag-and-drop list to order your layers and toggle advanced mode for a more detailed setup.
Feel free to experiment with the settings until you find the best combination for your project. When you're ready, move on to the next section to preview your collection before deploying it.
Great! It looks like you've already made the necessary checks and are ready to move forward with exporting your collection. In the Export section, you'll be prompted to make a payment and finalize the process. Upon successful payment, your collection will be ready for download, complete with the corresponding metadata based on the blockchain you've chosen.
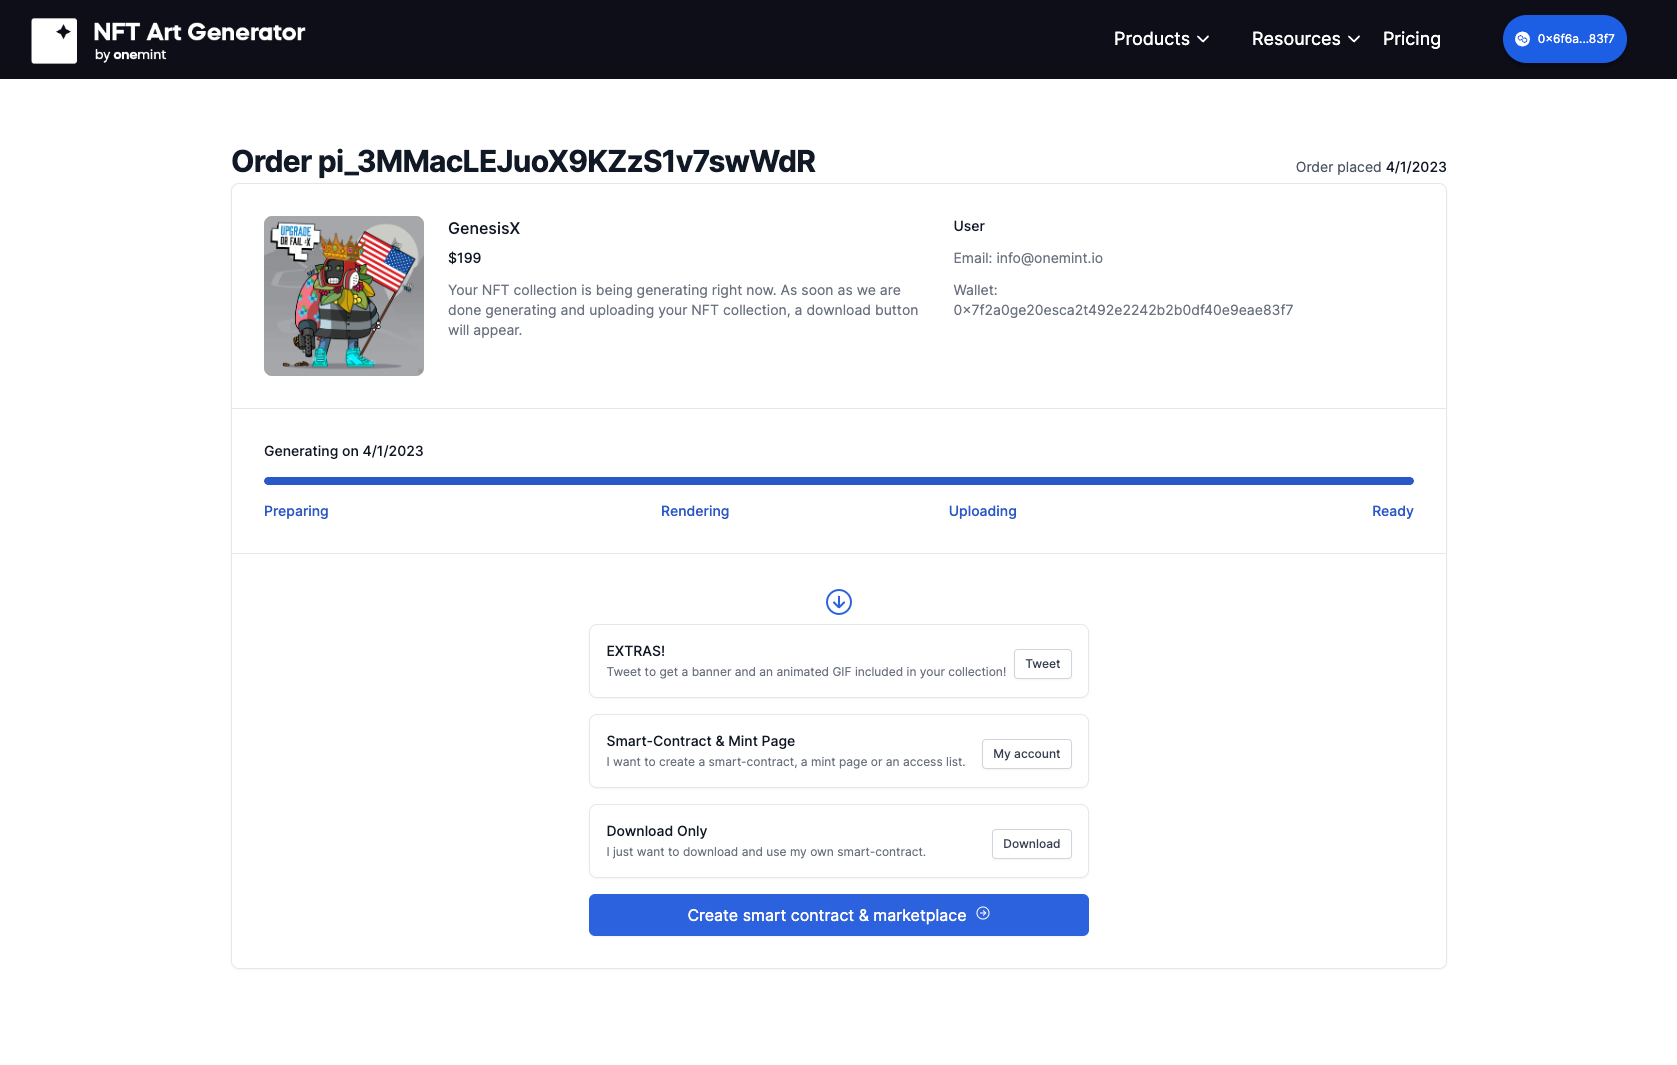
With everything in order, you can now use your collection to deploy a smart contract and upload it to the blockchain. Happy creating!
Step 4: Smart Contract Deployment
In just a few clicks, you can create a smart contract and marketplace for your collection. Simply navigate to your Account page and select the Smart Contract option to begin creating a contract without writing any code. It's quick and easy!
Then, follow the steps to describe your collection. It is important to carefully review the information you provide, as it will be permanently recorded on the blockchain and cannot be edited after it has been uploaded. Once you have completed this process, wait for your collection to be uploaded to IPFS. The time this takes will depend on the size of your collection.
When the upload is finished, you will be able to deploy your collection to the blockchain. Make sure you have the corresponding blockchain and click on deploy. Congratulations! You have successfully created your NFT collection and you may now work on your marketing strategy to have them minted by your audience.
BONUS STEP: Dynamic NFT Marketplace
Did you know that you have the ability to improve and enhance your NFTs? We understand the importance of maintaining a no-code culture, which is why we have made it easy for you to add interchangeable and upgradable traits to your NFTs without any hassle.
Learn how to create a Dynamic NFT collection with upgradable and exchangeable traits